
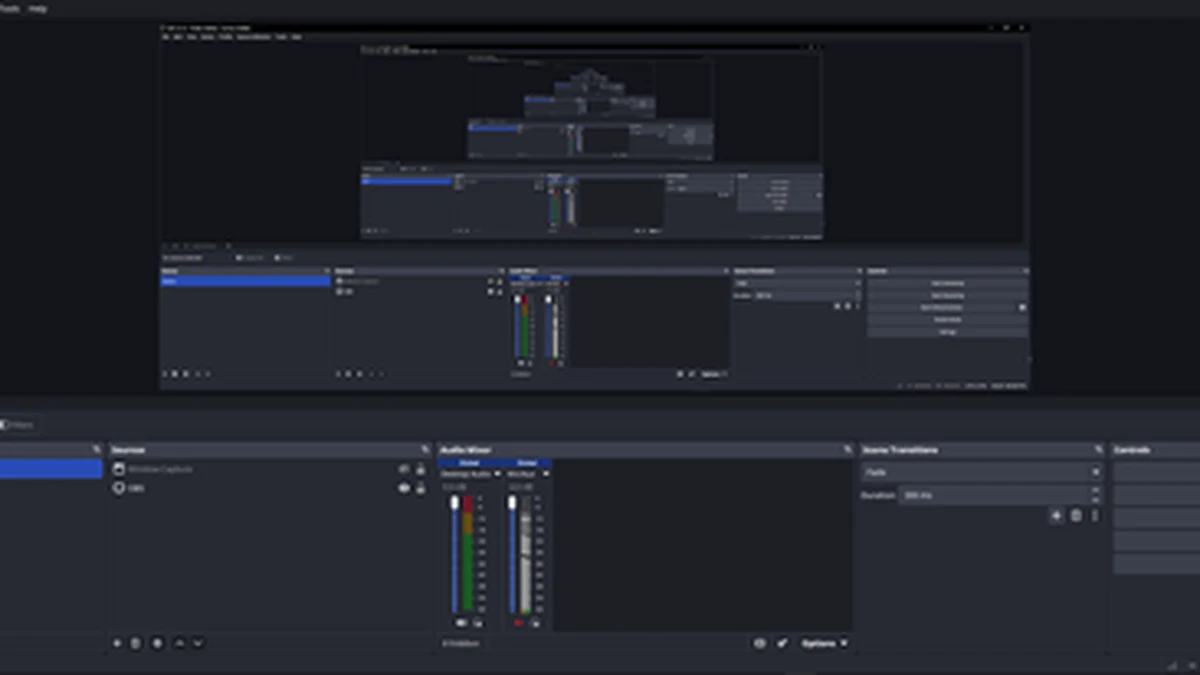
Streaming on a low-end PC is entirely possible, but only if your OBS settings are matched to what your hardware can actually handle. The default settings OBS suggests during setup assume a reasonably modern CPU or GPU, and on weaker hardware they’ll cause exactly the stutter and lag you’re trying to avoid. The fix isn’t one magic setting — it’s a combination of encoder choice, resolution, bitrate, and frame rate that together keep your PC from being asked to do more than it can, while still producing a stream that looks acceptable to viewers.
Choose the Right Encoder: x264 vs NVENC
This is the single biggest decision in your OBS setup. OBS offers two main encoder types: x264, which uses your CPU, and hardware encoders like NVENC (NVIDIA), AMD’s encoder, or Intel Quick Sync, which use a dedicated chip on your GPU.
For a low-end PC that’s already under pressure from the game itself, hardware encoding is almost always the better choice. NVENC uses a separate part of the GPU from the one rendering your game, so it adds far less overhead than x264, which competes directly with your game and everything else running on the CPU. If your GPU supports NVENC (most NVIDIA GPUs from the last several generations do) or AMD’s equivalent, use it. Only fall back to x264 if you don’t have access to hardware encoding at all — for example, on a PC with only integrated graphics and no dedicated GPU — and if you do, keep the x264 preset at “veryfast” or “superfast.” Slower presets like “medium” or “slow” look marginally better but cost far more CPU time, which a low-end system simply can’t spare while also running a game.
Set Your Output Resolution and Scaling Correctly
In OBS, your Base (Canvas) Resolution should match your monitor’s native resolution, but your Output (Scaled) Resolution is what actually gets sent to your stream, and that’s where you should scale down on a low-end PC. Downscaling from 1080p to 1280×720, or even to 854×480 on very weak hardware, significantly reduces the amount of pixel data OBS has to process and encode every single frame. This is set under Settings > Video, and it’s one of the most effective ways to cut load without touching a single other setting. A 720p stream from a low-end PC that runs smoothly will almost always look better to viewers than a 1080p stream that’s constantly stuttering, so don’t be afraid to scale down aggressively if your hardware needs it.
Pick a Bitrate That Matches Your Resolution and Upload Speed
Bitrate controls how much data is used to encode each second of video, and getting it wrong causes either a blurry stream or dropped frames from your internet connection. For a low-end setup streaming at 720p, 30fps, a bitrate around 2500–3000 kbps is a reasonable target; drop to 1500–2000 kbps if your upload speed is limited. As a rule of thumb, never set your bitrate above roughly 75% of your actual measured upload bandwidth, since spikes in network conditions will push you over your connection’s real ceiling and cause dropped frames on the viewer’s end. Use CBR (Constant Bitrate) as your rate control mode for live streaming — it keeps output steady rather than letting it spike during busy scenes, which matters more for streaming stability than for outright quality. Test your real upload speed with a speed test rather than trusting your ISP’s advertised number, since actual throughput is often lower, especially over Wi-Fi.
Stick to 30 FPS Unless Your Hardware Proves Otherwise
60fps looks noticeably smoother, but it also roughly doubles the number of frames your CPU or GPU has to render and encode per second compared to 30fps. On a low-end PC, that extra load is often the difference between a stable stream and constant dropped or skipped frames. Start at 30fps. If your stream runs cleanly with headroom to spare — check your CPU and GPU usage while live, ideally staying below 80-85% sustained usage — you can experiment with 60fps, but for most low-end setups, 30fps is the safer default that keeps both your gameplay and your stream smooth. Remember that your in-game frame rate and your stream’s output frame rate are separate settings; you can play at 60fps locally while OBS captures and encodes at 30fps for the stream itself.
Choose an Efficient Downscale Filter
When OBS scales your canvas down to your output resolution, it uses a downscale filter, and this setting has a real, measurable impact on CPU/GPU load. OBS offers four options: Bilinear, Area, Bicubic, and Lanczos.
- Bilinear is the lightest option by far, using the least processing power, which makes it the best pick for a genuinely low-end system, though the tradeoff is a slightly softer, blurrier image, especially during fast motion.
- Bicubic produces a noticeably sharper image than Bilinear for only a marginal increase in GPU load, and is the standard recommendation for most streamers who aren’t on the weakest possible hardware.
- Lanczos is the highest-quality option but the most demanding, and includes a sharpening pass that can introduce minor artifacts on fast-moving game footage — it’s generally better suited to webcam or face-cam video than gameplay.
- Area works well for scaling by unusual, non-standard percentages, but isn’t typically recommended for high-motion gameplay footage.
If your PC is struggling, start with Bilinear. If you have a little headroom, Bicubic is a safe upgrade that most viewers won’t be able to tell apart from Lanczos on gameplay footage. Note that if your scaled output falls below 50% of your base canvas size, OBS forces Bilinear scaling regardless of what you select, so extreme downscaling makes this choice moot anyway.
Reduce Background Load Everywhere Else
OBS settings alone won’t fix a lag problem if something else on your system is eating your CPU or GPU. A few settings-adjacent fixes matter as much as anything inside OBS itself:
- Set OBS’s process priority to “Above Normal” under the General or Advanced tab, giving it a slight edge over other background processes when your system is under load.
- Close background apps you don’t need while streaming — browser tabs, chat overlays, and update services all compete for the same resources, and a browser with a dozen tabs open can quietly use more RAM and CPU than people expect.
- Turn off Windows Game Bar and Game DVR, since both add extra GPU overhead in the background even when you’re not actively using them.
- Lower your in-game graphics settings. This isn’t an OBS setting, but it frees up the same GPU that OBS’s hardware encoder is drawing from, giving both the game and the encoder more room to breathe.
- Disable sources in your OBS scene that aren’t currently visible, since hidden but active sources (like a browser source running an alert widget) still consume resources even when not on screen.
Monitor Performance While You Stream
Settings alone won’t tell you whether they’re actually working — you need to watch real numbers while streaming to confirm. Open Windows Task Manager’s Performance tab (or a lightweight overlay like MSI Afterburner) alongside OBS’s own Stats dock (View > Docks > Stats) during a test stream. Watch your CPU and GPU usage percentages, and keep an eye on OBS’s dropped frame counters specifically. If CPU or GPU usage is pinned near 100% for long stretches, that’s your bottleneck, and it tells you exactly which setting to back off next — lower the output resolution if the GPU is maxed, or switch off x264 in favor of a hardware encoder if the CPU is maxed. Run a short test stream to a private or unlisted channel before going live for real, so you can catch these issues without an audience watching a stuttery broadcast while you troubleshoot.
Sample Settings for a Low-End PC
As a starting template for an older or budget PC (integrated graphics or an entry-level dedicated GPU): Base Resolution matched to your monitor, Output Resolution 1280×720, FPS 30, Encoder set to hardware (NVENC/AMD) if available or x264 “veryfast” if not, Rate Control CBR, Bitrate 2500 kbps, Downscale Filter Bilinear, Audio Bitrate 128 kbps, Process Priority Above Normal. Adjust upward gradually — bump resolution, bitrate, or the downscale filter one step at a time — and watch your dropped frame count in the Stats dock after each change rather than adjusting several settings at once, since changing everything simultaneously makes it impossible to tell which setting actually helped.
Conclusion
The core formula for streaming lag-free on a low-end PC is: use hardware encoding (NVENC or AMD’s equivalent) over x264 whenever it’s available, downscale your output to 720p or lower, keep bitrate around 2500–3000 kbps at 30fps, and use the Bilinear or Bicubic downscale filter rather than Lanczos. Layer in reduced background load — closing unused apps, disabling Game Bar, and lowering in-game settings — and most low-end systems can stream smoothly at 720p30 without constant stutter or dropped frames.

[…] Streaming Gear for Gamers Getting Best OBS Settings for Low-End PC (No Lag Streaming) Best Web Browsers for Gamers in 2026 Best Antivirus Software for Gamers in […]