
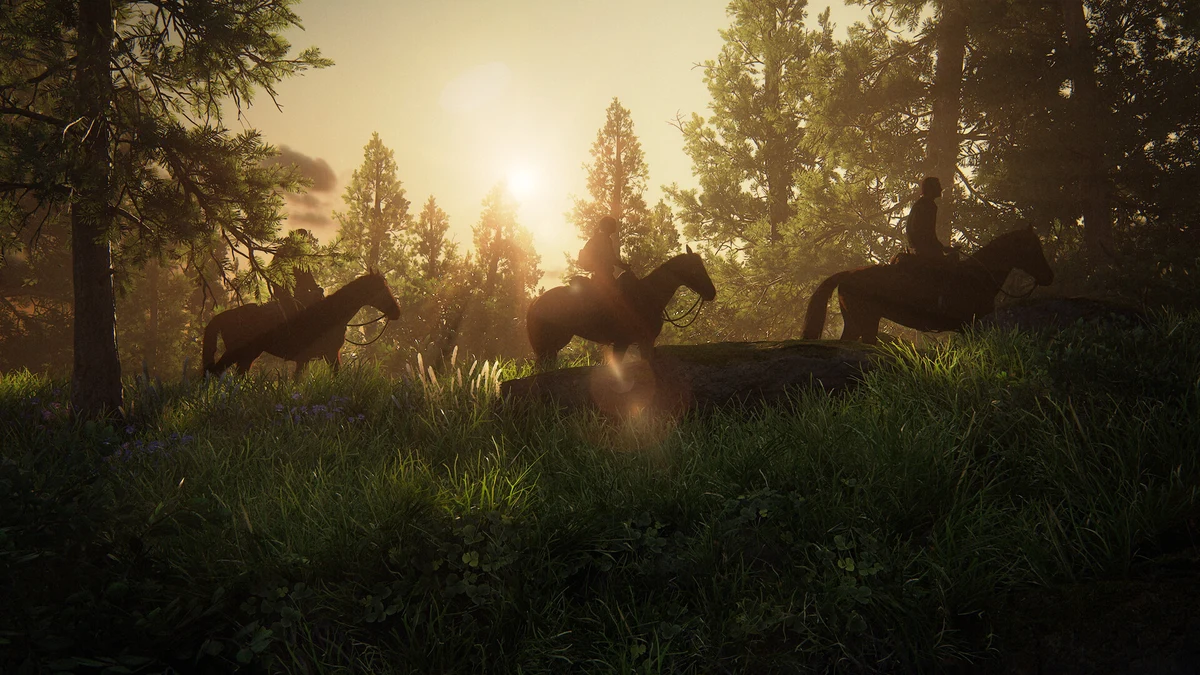
Surviving Joel and Ellie’s world, or Ellie and Abby’s, is less about reflexes and more about discipline: knowing when to fight, when to hide, and what to spend your scarce materials on. The Last of Us Part I and Part II share the same core survival loop of scavenging, crafting, and careful engagement, but Part II adds enough new mechanics that a refresher is worth it even for series veterans. This guide covers crafting priorities, stealth-versus-combat decision-making, resource management, and how to approach Grounded difficulty, the series’ hardest standard setting. For a broader overview of both games and the wider franchise, check out our complete The Last of Us guide.
Stealth First: Why Sneaking Beats Shooting
In both games, most encounters can be avoided or thinned out with stealth before they escalate into a firefight. Crouching and using Listen Mode to track enemy positions through walls lets you plan a route around patrols instead of walking into them. In Part II specifically, going prone and crawling through tall grass or debris gives Ellie and Abby a stealth option Part I’s Joel and Ellie never had, letting you close distance on an isolated enemy without breaking line of sight.
The practical reason to prioritize stealth is resource conservation. Every bullet fired, every crafted item used, and every health kit consumed in a loud fight is a resource you cannot spend later. Picking off enemies one at a time with strangleholds or a well-placed shiv keeps your inventory intact for the encounters you cannot avoid, including boss fights and story-forced confrontations.
Crafting Essentials and What to Prioritize
Both games route nearly everything you find in the world, alcohol, rags, blades, explosive powder, and binoculars parts, into a shared crafting pool used for health kits, shivs, Molotov cocktails, pipe bombs, and melee weapon upgrades. Because you cannot craft everything at once, prioritize based on your current plan:
- Shivs are essential utility items: they open locked doors, silently finish off grabbed enemies, and can free you from a Clicker’s grab that would otherwise be a guaranteed death. Always keep at least one or two in reserve.
- Molotov cocktails and pipe bombs are best saved for large groups of infected or human enemies clustered together, rather than used on single targets.
- Health kits are expensive to craft and are usually better saved for immediately before a boss fight or a segment you know is combat-heavy, rather than topped off after every minor scrape.
In Part II, investing early skill points into the Crafting tree pays off quickly, since it improves crafting speed and unlocks smoke bombs, which are excellent for breaking line of sight when a stealth approach goes wrong.
Resource Management: Ammo, Parts, and Supplements
Three resource types govern long-term progression in both games: crafting materials (found in the world), parts (used to upgrade weapons at workbenches), and supplement pills (used to unlock skills). A common early mistake is dumping parts into whichever weapon you are using at the moment instead of committing to two or three weapons you actually plan to rely on for the rest of the game. Fully upgrading a pistol or revolver early tends to pay off more than spreading parts thin across every gun you pick up.
Supplement pills should generally go toward survival-oriented skills first, extra health, faster healing, and improved crafting, before combat-offense skills, since staying alive long enough to use a weapon matters more than the weapon itself in the early game.
Combat Techniques: Dodging, Melee, and Firearms
When a fight does happen, melee encounters in Part II benefit heavily from the dodge mechanic: a well-timed dodge against an incoming swing opens a brief window for a free counterattack. This is especially useful against enemies with more health, such as Bloaters or heavily armored Wolves and Seraphites in Part II, where trading hits directly is a losing proposition.
For firearms, headshots and precision matter more than spraying ammo, since ammunition is one of the scarcest resources in both games, particularly on higher difficulties. Listen Mode remains useful mid-fight in Part I and on lower difficulties in Part II to track enemies who have taken cover, though it becomes unavailable on Grounded.
Facing Infected vs Human Enemies
Infected and human enemies require different tactics. Runners and Stalkers can usually be avoided or picked off individually with stealth kills, while Clickers are blind but rely on sound and will kill you instantly if they grab you in melee range, making a shiv or a wide berth your safest options. Bloaters and, in Part II, Shamblers hit hard and should be dealt with using explosives or fire rather than direct gunfire whenever possible.
Human enemies are more dangerous in groups because they communicate. If a companion or dog spots your position, expect the group to actively search and flank rather than simply investigate a single noise, particularly in Part II. Breaking line of sight and repositioning, rather than standing your ground, is usually the safer play against organized human factions.
Grounded Difficulty Survival Tips
Grounded is the series’ hardest standard difficulty, and it changes the game’s fundamentals rather than just increasing enemy damage. Listen Mode is disabled, HUD elements including ammo counters and crafting prompts are stripped away, enemies deal significantly more damage, and crafting materials are much scarcer. A few practical adjustments help:
- Switch weapons to visually check remaining ammo, since the HUD will not show it for you.
- Avoid crafting health kits early on; you will often die in one or two hits regardless of your health bar, so spending supplement pills on max health is usually more valuable than stockpiling medkits.
- Skip optional fights wherever the game allows it. Many encounters in both games are avoidable entirely by sneaking past rather than clearing the area.
- Save your strongest crafted explosives, Molotovs and pipe bombs, for Bloaters and boss encounters rather than using them on regular patrols.
Permadeath Mode: Is It Worth Trying
Part II also offers a Permadeath mode, added in a post-launch update, which forces you to complete the game (or a chapter, or an act, depending on the setting you choose) without dying, or restart from the beginning of that segment. It can be combined with any standard difficulty, including Grounded, for players who want the ultimate challenge run. It is best attempted only after you have already completed at least one full playthrough and know the encounters, since learning enemy placements on the fly while under permadeath pressure is punishing even for experienced players.
Weapon Priorities for New Players
Both games hand you a growing arsenal, but not every weapon deserves equal investment. Early on, prioritize upgrading a reliable sidearm, the standard pistol or revolver, since you will use it constantly for both stealth finishers on grabbed enemies and mid-range firefights. Shotguns and bows are strong situational picks: bows are excellent for silent kills at range and are the most ammo-efficient weapon in either game if you can recover arrows from bodies afterward, while shotguns excel at close range against Clickers or grouped human enemies. Save parts for a rifle or high-caliber weapon only once your core loadout is upgraded, since these tend to matter most in the more demanding late-game encounters and boss fights.
Reading Enemy Behavior Before Engaging
Before committing to any encounter, take a moment to observe. In both games, enemies patrol in loops or clusters that reward patience, watching from cover for a few seconds often reveals a safe path around a group entirely. Look for isolated enemies who have wandered away from the pack; picking these off first thins the group without alerting the rest. In Part II, pay attention to named enemies and dogs specifically. Dogs can track your scent even after you leave an area, so breaking off in water or backtracking through areas you have already cleared can throw them off. Human enemies calling out a companion’s name when they go missing is also a warning sign that the group is now on alert and searching, at which point disengaging and repositioning is usually smarter than trying to hold your original spot.
Adjusting Your Approach Between Part I and Part II
Because Part II’s AI is more aggressive about searching and flanking, tactics that work well in Part I do not always transfer cleanly. Players moving from Part I to Part II for the first time often get caught off guard by how quickly a single spotted enemy in Part II can turn into a full group actively hunting your position. The safest adjustment is to treat every noisy action, a gunshot, a broken window, a dog barking, as a countdown: you generally have a short window to either finish the fight or fully disengage before reinforcements arrive. Leaning on prone movement and tall grass to reposition mid-fight, rather than sprinting to new cover in the open, tends to keep you off the enemy’s radar longer in Part II specifically.
Sources: – The Last of Us Part II update adds Grounded difficulty, Permadeath mode, and more – PlayStation.Blog – The Last of Us 2’s Grounded update includes permadeath, new modes and extra trophies to try for | GamesRadar+ – The Last of Us 2: Crafting – list of items – gamepressure.com – ‘Last of Us 2’ grounded, permadeath modes: 6 crucial tips for surviving – Inverse


[…] vs Part II: Key Differences (ESRB M) The Last of Us on PC: Requirements and Performance (ESRB M) The Last of Us Survival Tips and Combat Guide (ESRB M) The Last of Us Explained: Games, Story & HBO Show Guide (ESRB […]